How to Make a Morse Code Bracelet: A Complete Guide
Introduction
Morse code bracelets are not only stylish but also hold a meaningful message embedded within their design. By using beads and string, you can create personalized jewelry that spells out your chosen word or phrase in Morse code. This guide will take you through each step, from gathering materials to adding the finishing touches, so you can craft a unique piece of jewelry that is both beautiful and meaningful.

Materials Needed
Before diving into the creation process, it is essential to gather all the necessary materials. Here is what you will need:
List of Supplies
- Beads (two colors or shapes for dots and dashes)
- String or cord (elastic or non-elastic)
- Clasp (lobster claw, toggle, etc.)
- Jump rings (optional, depending on clasp type)
- Scissors
- Measuring tape or ruler
- Lighter or clear nail polish (to seal the knots)
Where to Buy Them
You can find most of these materials at any craft store, such as Michaels or Hobby Lobby. Online platforms like Amazon, Etsy, and specialized jewelry supply stores also carry a variety of beads, strings, and clasps suited for making Morse code bracelets.
Understanding Morse Code
To create a Morse code bracelet, it is crucial to understand the basics of Morse code. This age-old communication system uses dots and dashes to represent letters of the alphabet.
Brief History of Morse Code
Developed in the 1830s and 1840s by Samuel Morse and Alfred Vail, Morse code was initially used for long-distance communication through telegraphs. Each letter and number is represented by a specific sequence of dots (short signals) and dashes (long signals).
How Morse Code Works
Each letter in the alphabet is translated into a unique sequence of dots and dashes. For example:- A = .-- B = -...- C = -.-.
Knowing these combinations allows you to convert any word or phrase into Morse code.
Designing Your Morse Code Bracelet
Once you have a basic understanding of Morse code, it is time to design your bracelet. This involves choosing your message and planning the layout of beads.
Choosing a Word or Phrase
Select a word or phrase that holds special meaning to you. It could be a name, a motivational word, or a short sentence.
Translating Into Morse Code
Using a Morse code chart, translate each letter of your chosen word or phrase into Morse code. Write down the sequence of dots and dashes.
Planning Your Bead Layout
Decide which color or shape of bead will represent dots and which will represent dashes. Lay out your beads in the order of your Morse code sequence. For instance, if your word is 'HI' (H = .... and I = ..), your layout will be four dot beads followed by two dot beads.

Creating Your Bracelet
With your materials ready and your design planned, you can now start making your bracelet.
Preparing Your Workspace
Set up a clean and organized workspace. Gather all your materials and ensure good lighting.
Cutting the String
Measure the desired length of your bracelet, adding a few extra inches for tying knots. Cut the string accordingly.
Stringing the Beads
- Begin by tying a small knot at one end of the string to prevent beads from sliding off.
- String the beads in the sequence of your Morse code design.
- Ensure the beads are evenly spaced.
Securing the Beads with Knots
Once all the beads are in place, tie a knot at the end of the string to secure them. You may use a lighter or clear nail polish to seal the knots and prevent fraying.
Attaching the Clasp
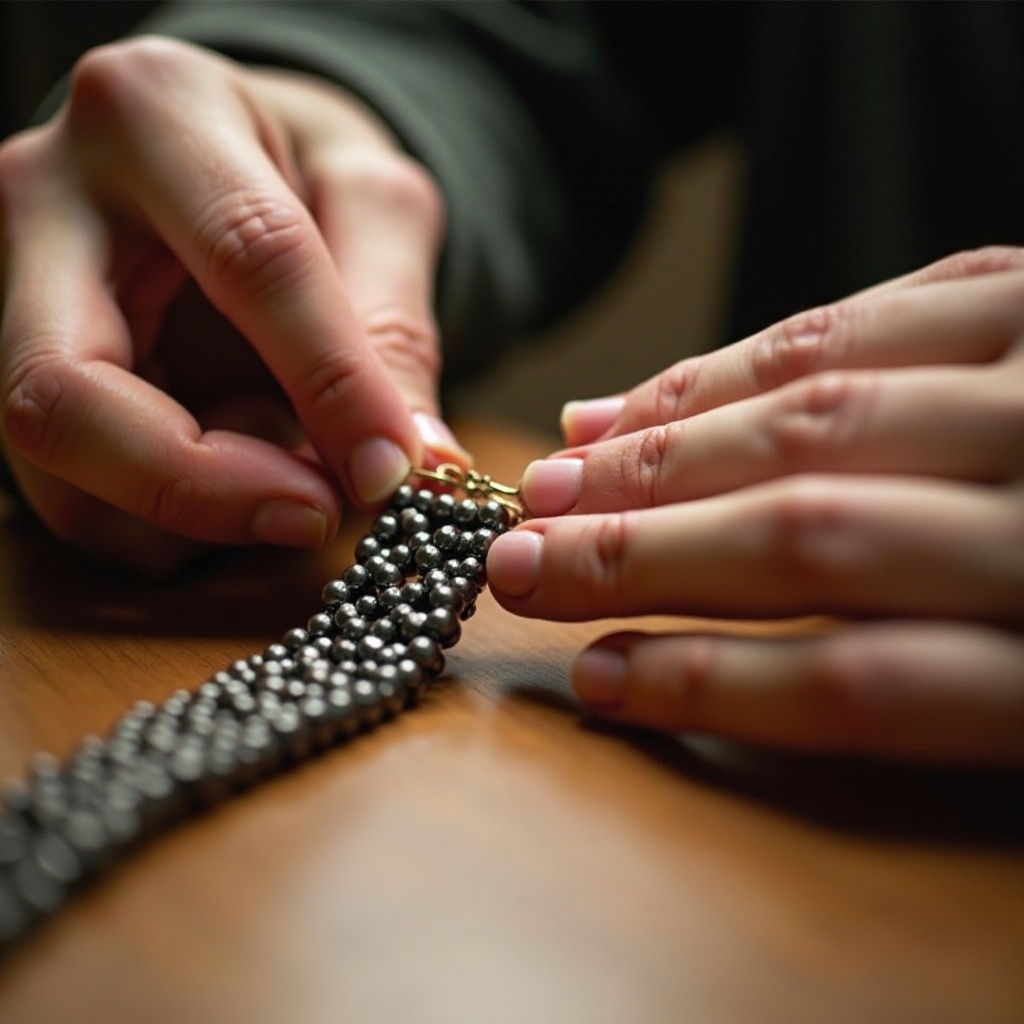
The final step in creating your bracelet is to attach the clasp, allowing you to wear and remove the bracelet easily.
Types of Clasps
There are several types of clasps to consider, including:1. Lobster claw clasps2. Toggle clasps3. Magnetic clasps
How to Attach a Clasp
- For a lobster claw or toggle clasp, use jump rings to connect the clasp to the ends of the bracelet.
- Securely tie the string to the jump rings, ensuring the knots are tight.
- If using an elastic string, simply tie the string ends together with the clasp in between.

Customization Ideas
Now that your basic bracelet is complete, you can add personal touches to make it truly unique.
Using Different Colors
Experiment with different bead colors to add visual interest. You might use a certain color to represent each letter or word.
Incorporating Charms and Pendants
Add charms or pendants to represent different aspects of your message or to enhance the bracelet's aesthetic appeal. Attach them using small jump rings.
Conclusion
Creating a Morse code bracelet is a fantastic way to make personalized jewelry that holds a secret message. By following this guide, you can craft a beautiful piece that is both stylish and meaningful. Enjoy the creative process and make each bracelet a unique expression of your thoughts and emotions.
Frequently Asked Questions
What is the best string for making Morse code bracelets?
Elastic string is ideal for a stretchy, easy-to-wear bracelet, while non-elastic options like nylon cord offer durability and a traditional look.
Can I use different types of beads for Morse code?
Yes, you can use various bead shapes and sizes. Just ensure that dots and dashes are easily distinguishable.
How do I ensure my bracelet is durable?
Secure knots with a lighter or clear nail polish and use high-quality string and beads to enhance durability. Avoid too much exposure to water and harsh chemicals.


